Getting started
Open your shop and take your first order
5 minute read
Broidry gives you two things: a shop page your customers order from, and the back office that runs everything behind it. This guide walks you from a new account to a link you can paste anywhere.
One thing to know before you start: you are never stuck. The Ask Broidry chat in your dashboard answers questions instantly, in plain words — how do I add a product, how do I change my shop's address, why isn't my product on my shop page. Open it from Ask Broidry in the sidebar, or from the Help button that sits in the corner of every dashboard page. It explains how Broidry works and how your shop is set up. It does not look up your orders or customers. On a plan that includes it, Your shop assistant, next to Help, does that. When you tell it something is not working, it looks at your own shop first: the real size of the photos on a product, whether your card payments are fully set up, how a font conversion went, or whether a ticket you sent was answered. Under that answer is a button, Still not working? Open a ticket, which sends the conversation to the people who build Broidry so a real person follows up by email. And if the chat can't answer something at all, it sends your question to them on its own, without you having to ask twice.
When you send a note that way, you can attach up to five photos, and you can pick several at once. A screenshot of what you are seeing saves a whole round of back-and-forth. Photos are optional, and each one can be up to 8 MB.
If you would rather read than ask, there is a search box at the top of every page of these tutorials, and on the Help and feedback page in your dashboard. Type the words you would use — deposit, hooping, thread color, my own web address — and it searches these tutorials and the longer business guides at the same time, and shows you the sentence your words came from so you can see which page answers you before you open it.
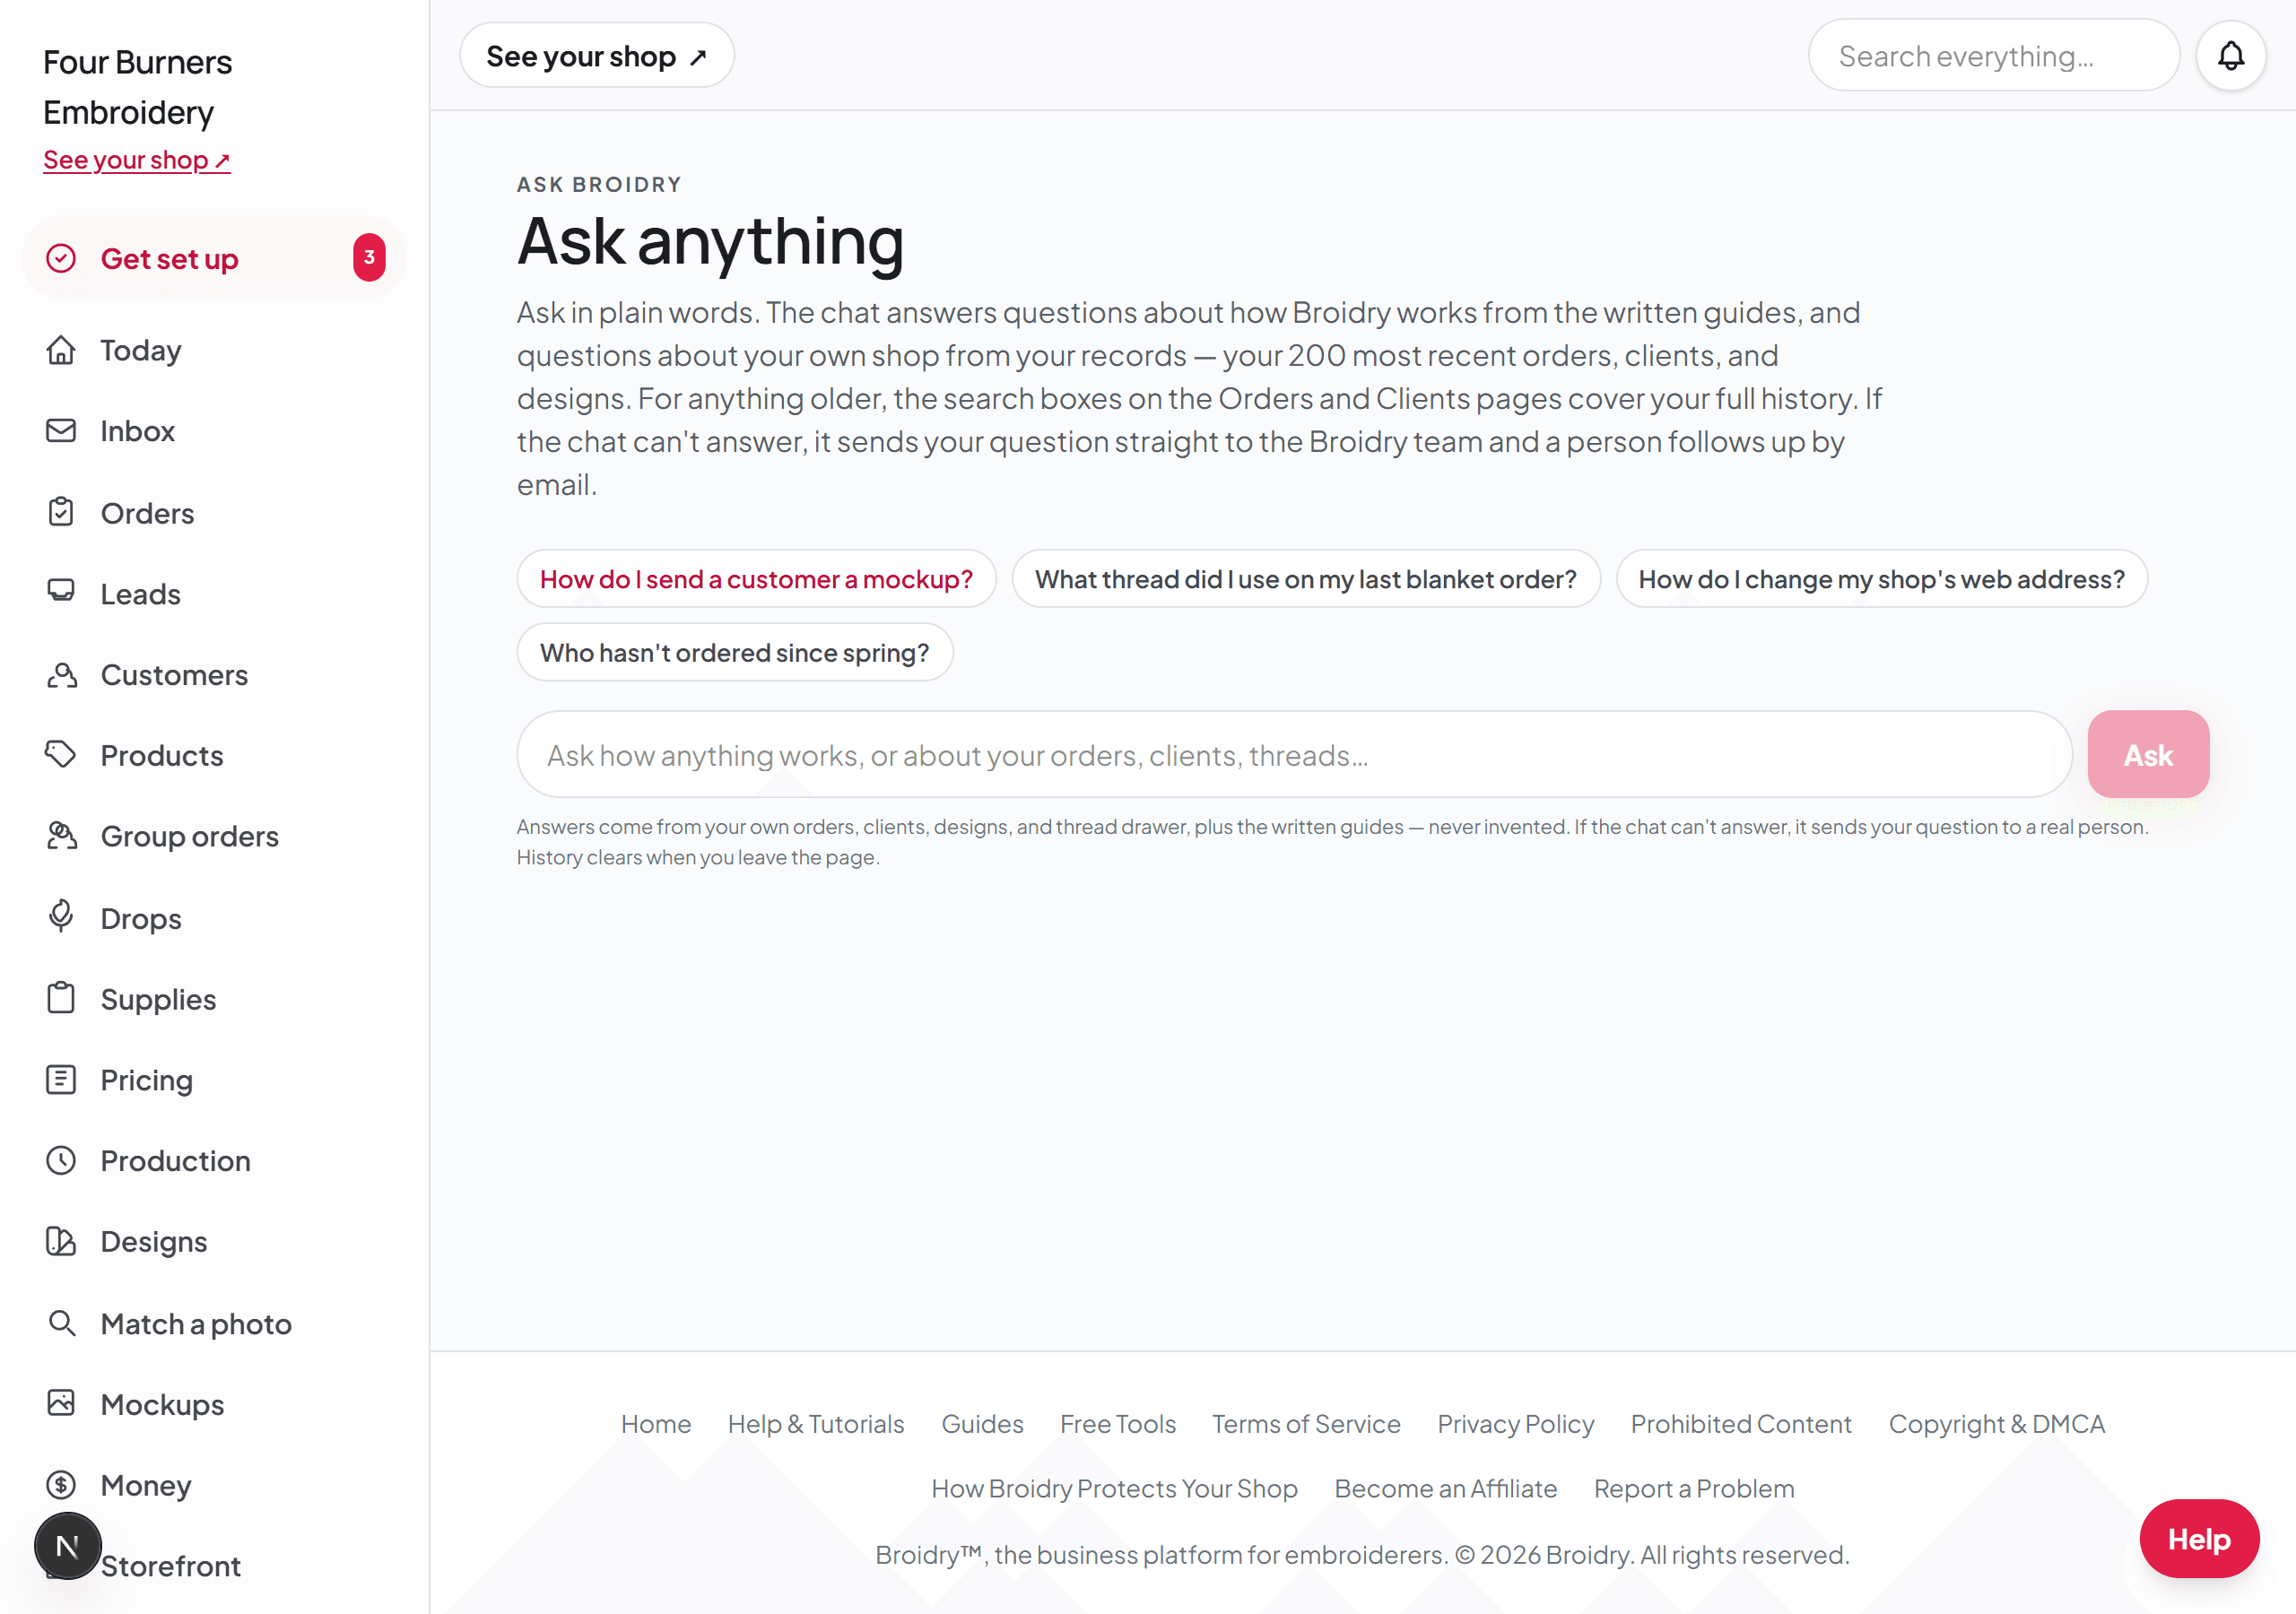
Set up your shop
- 1Create your account and choose I'm an embroiderer. Broidry opens your dashboard.
- 2On the Today page, click Start the setup. On the setup page, type a sentence or two about your shop in your own words, the way you would describe it to a friend. Broidry drafts your shop name, your welcome text, and a few starter products from what you wrote.
- 3Review each drafted section and click apply on the ones you like. Nothing is saved until you approve it, and you can edit every word.
- 4Open Products and check the starter products. Add real photos when you have them. A product without a photo still works, but products with photos get ordered far more often.
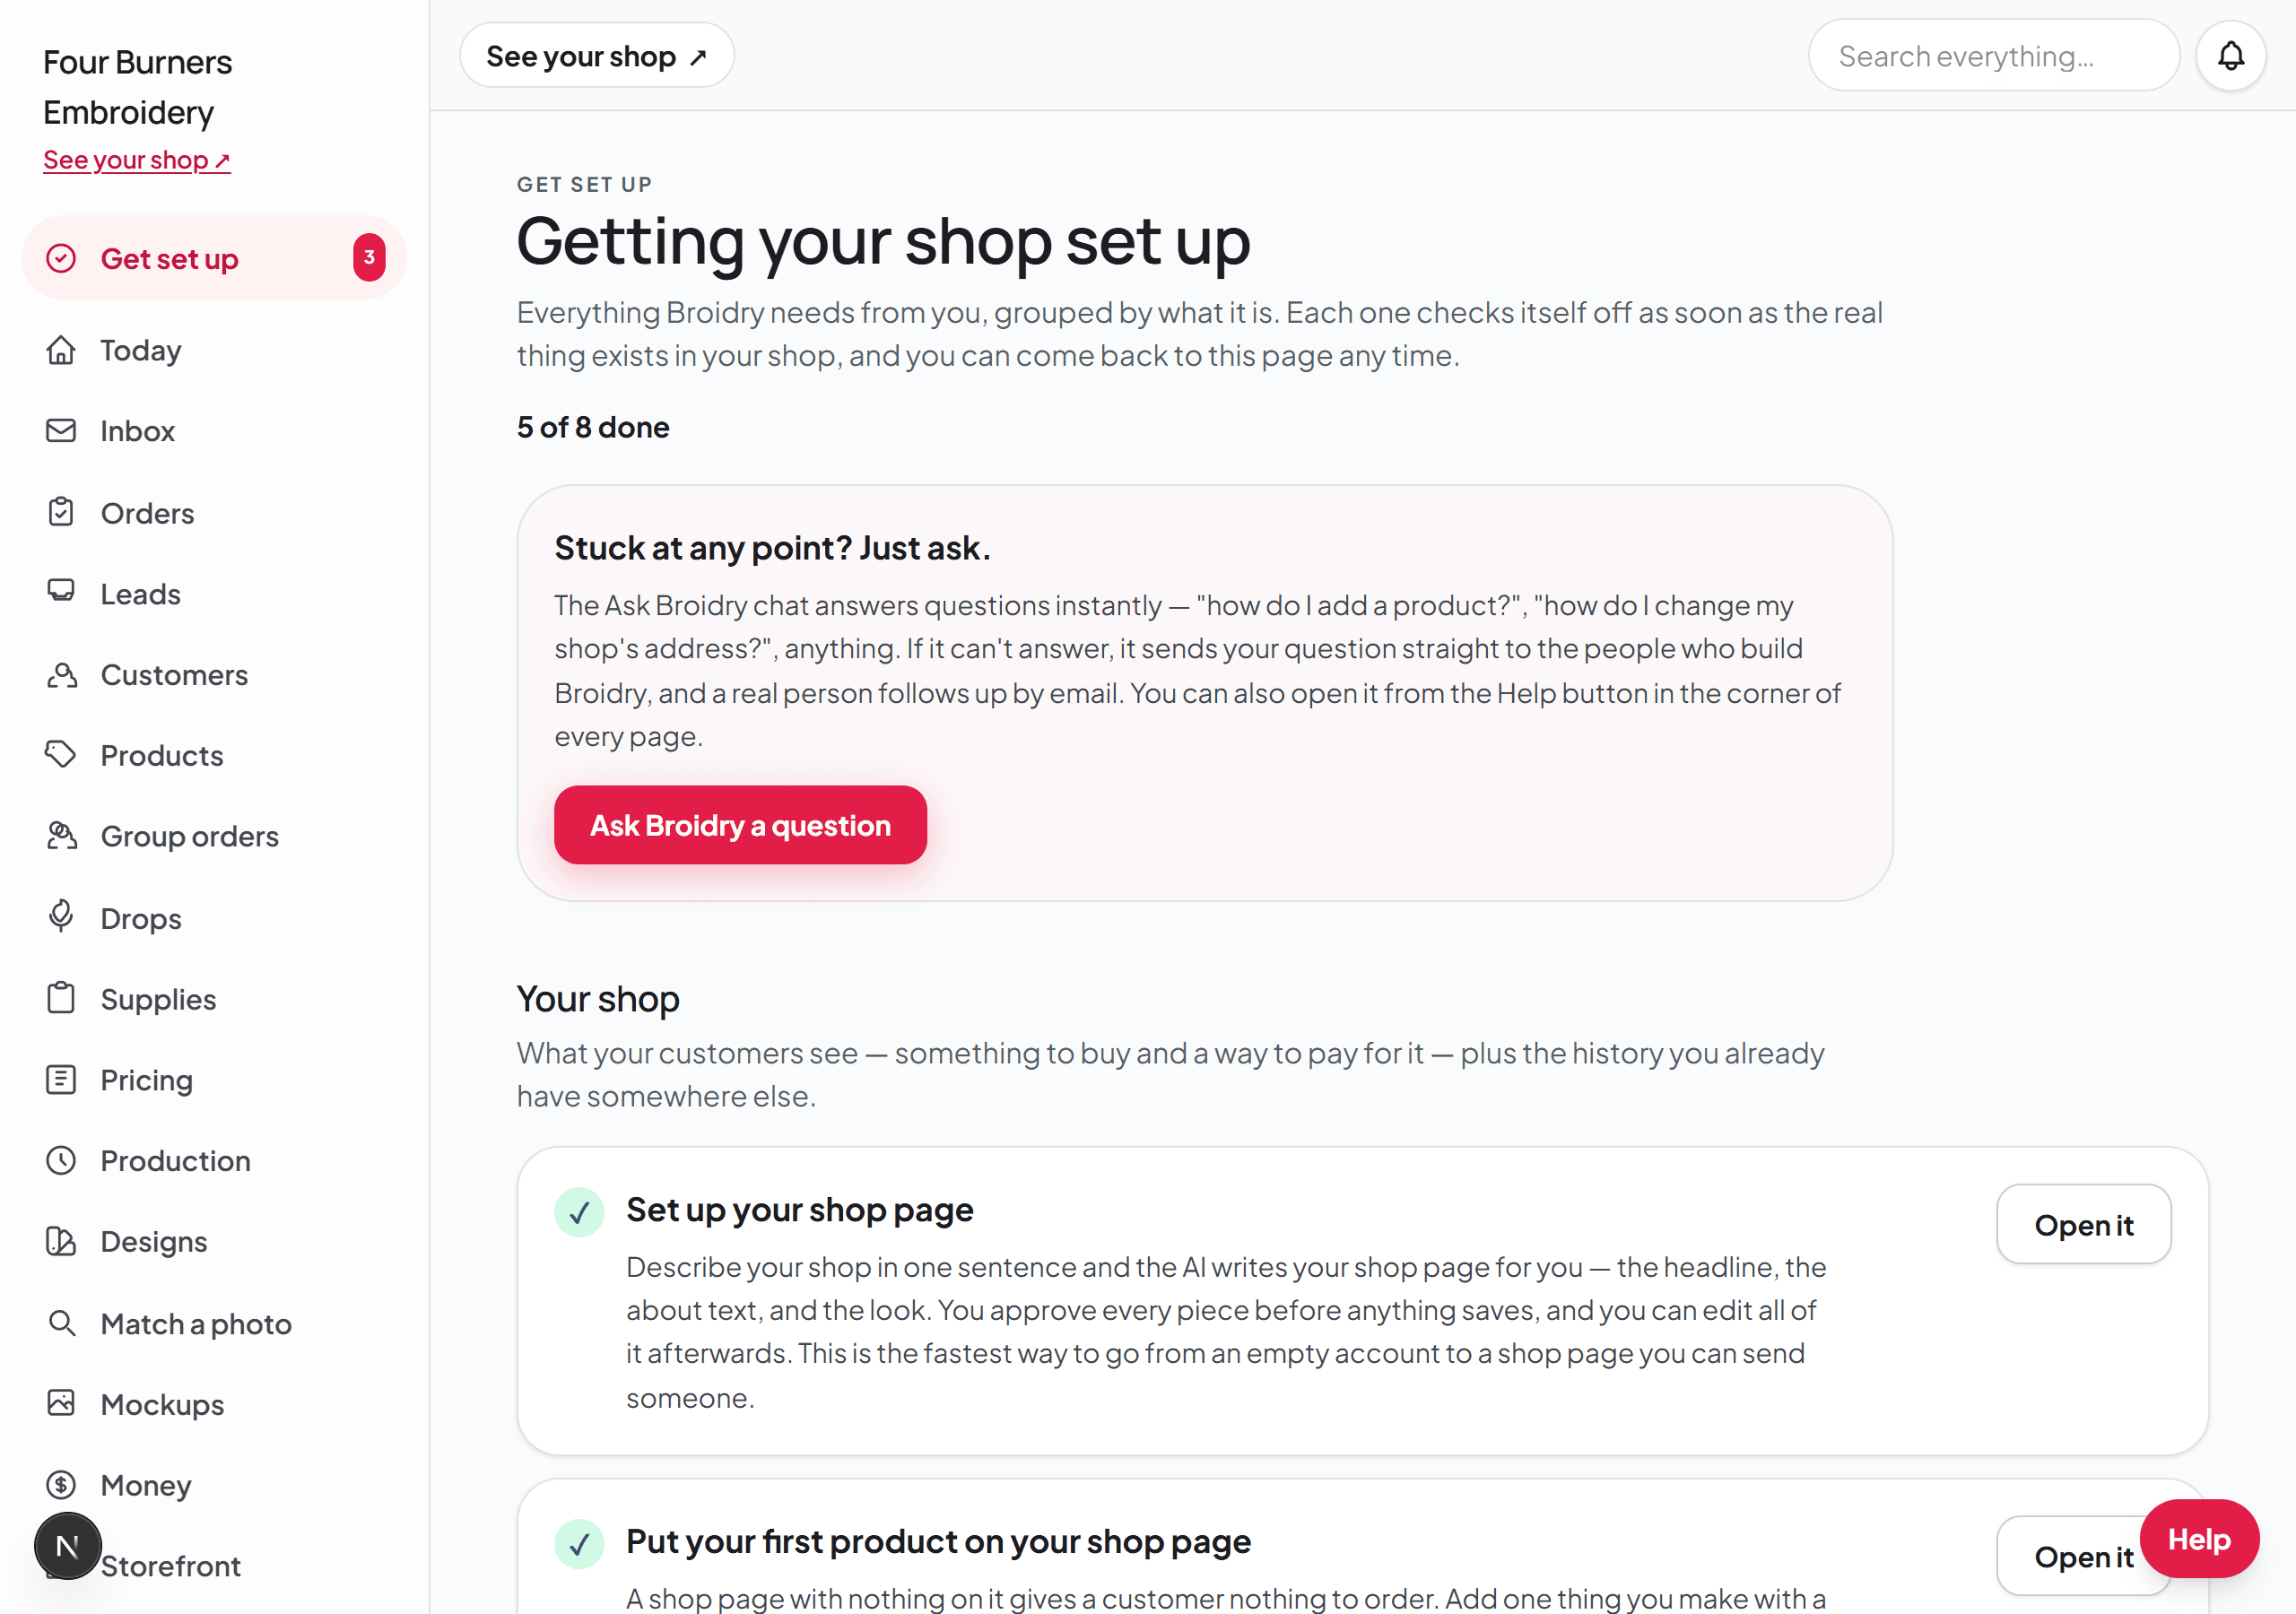
What each step is for
Set up your shop page. Describe your shop in a sentence or two and the AI writes your shop page for you: the headline, the about text, and the look. You approve every piece before anything saves, and you can edit all of it afterwards. It's the fastest way from an empty account to a shop page you can send someone.
Put your first product on your shop page. A shop page with nothing on it gives a customer nothing to order. Add one thing you make with a starting price. The AI setup offers a few starter products, or you can write your own on the Products page. One product is enough to start taking orders. If your products came in from Etsy, they arrive hidden, and this step asks you to turn on the ones you want customers to see. Change or delete several on the Products page does the whole batch at once.
Set up how your customers pay you. Your shop page can look finished and still leave a customer with no way to pay you. Start with card payments: they run through Stripe and the money goes to your own bank account. Once a customer accepts a quote, Broidry emails them their payment link, reminds them if it goes unpaid, applies your deposit rule, and records every payment on the order. You can also add Venmo, PayPal, cash, or a check, and plenty of shops take both. A typed handle can't send requests or track deposits, so that part stays on you. New shops charge up front, when the customer orders. If most of your work needs a conversation first, switch to After you confirm the price on the same page.
Share your shop page. Nothing on the list brings in an order until someone sees your shop page. Copy the link and paste it into your Facebook page, your Instagram bio, a reply to the next person who asks what you make, or a text to a customer who usually orders by message. Orders that come in through it arrive with the size, the spelling, and the placement already filled in. You don't need to finish everything else first: the page only shows what you've added, so a shop with three products looks complete.
Bring your past orders and customers in. If you've been selling on Etsy, Shopify, Square, Squarespace, Wix, Big Cartel, or through PayPal, download their export file and drop it on the Import page. Your past customers, orders, and revenue fill in, and you see a preview of exactly what will come in before anything saves. An import can't bring your thread colors, your garment costs, or your design files, because no other platform stores those.
Add the thread colors you actually own. Pick your thread brand from the list (Madeira, Isacord, and the other common lines are already loaded) and add the color numbers on your shelf. Then you can tell a customer which colors they can pick from, record which thread went on a finished piece so a reorder is a lookup, and get a reorder list with real numbers when a cone runs low.
Add your garments and what each one costs you. Add the blanks you stitch on, like shirts, sweatshirts, totes, and hats, and what you pay for each one. Until a garment has a cost saved, any quote you build prices that garment at $0, so you'd undercharge by whatever the blank cost you. If a customer provides their own garment, mark it customer-supplied and it costs nothing.
Load your designs and your lettering fonts. Upload the designs you stitch and the fonts you letter with. They show up when you build an order or a mockup, and you can let customers pick from them on your shop page. You can add them a few at a time.
Turn a message into your first order. Most embroidery orders start as a message. Drop in a screenshot of a Messenger or Instagram conversation, a text thread, or a photo of a note, and Broidry drafts the order: who it's for, what they want, and when they need it. It tells you which details are still missing and gives you a message to send asking for them. The screenshots stay on the order, so the spelling a customer sent is always there to check.
Signing in on a computer or a phone
Broidry is a website, so there is nothing to download. Go to broidry.com/login in any browser, type the email address and password you signed up with, and press Sign in. The same address and password work on your phone and on a computer, and your shop is the same in both places.
If you forgot your password, press "Forgot your passphrase?" under the Sign in button and type your email; the reset link arrives by email.
What to read next
If you have never sold anything yet, meaning no customers, no prices, and no idea what to charge, read the guide called Your first sale, from zero. It walks through setting up one product, pricing it honestly, and placing a practice order on yourself so you see the whole thing work.
If customers already message you on Facebook, Instagram, or text, read the guide called Turn a pasted message into an order. It shows how a conversation becomes an order without retyping anything.
When you are ready to show a customer their design before stitching, read The Mockup Studio, start to finish.